
How to Assemble A Trampoline [Step by Step]
Assembling a trampoline is quite different for different types. For mini trampolines, it can be quite simple and fast, due to their foldable and portable features. But for the big ones, it might take some time and patience to finish the process.
Usually, we suggest following professional manual guidance attached with products or an instruction video on youtube for the installation.
Just for your needs, here follows the general steps for the installation, take round trampolines for example:
How long to assemble a trampoline
Well, this really depends on the number of involved people in the assembly process. More people in, less time-consuming! However, for universal use, we need around three hours by estimated calculation by the cooperation of two people, following the manual.
Set up trampoline instructions
How to assemble a trampoline frame
- Connect the steel circle: First of all, you need to pick out the parts of steel tubes for the round circle, not the W-shaped (some people or companies call U-shaped)legs. Put all of the parts into one circle on the ground, and connect them with the T-connector. You need to lift up the whole steel tube circle, and connect with the w-shaped legs.
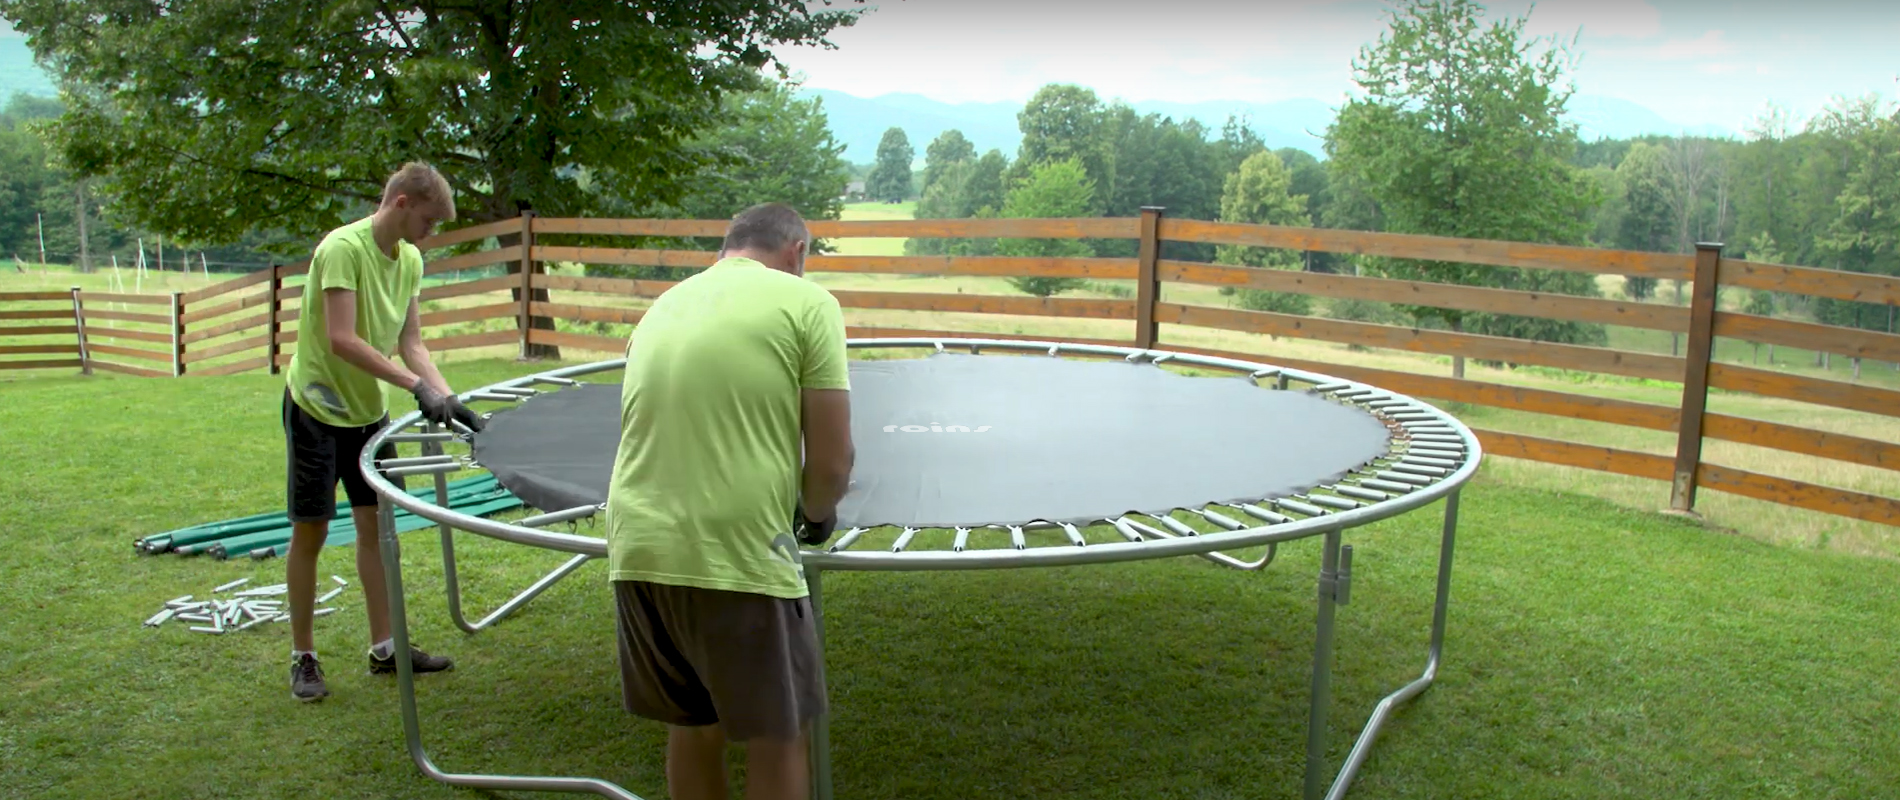
- Fix the position of the jumping mat: After that, it’s time to put every spring in position, but do not hock every V-ring on the jumping mat that fast. The first thing you need to do is to fix the jumping mat with four springs at four right angles, then it will be easy for you to hock every spring. If not, it will be super hard to hock with the left springs since the jumping mat will become very tight. Actually, you can choose to finish hocking every spring at this step or after setting up the steel frame.
- Put the steel legs on the right side: Above two steps can be done by one person alone, but this step needs at least two persons. You need to lift up the steel circle and connect with the W-shaped legs. Here comes the importance, you have to identify which side should face the center point, and which side should be confronted with outside. The a-little-bit curved side should be facing the center point of the trampoline. Only in this way can the trampoline be steady enough. Since all of the steel legs are facing one contact point, all the bearing weight will be upheld by one point. This makes the trampoline sturdy in the physics theory.
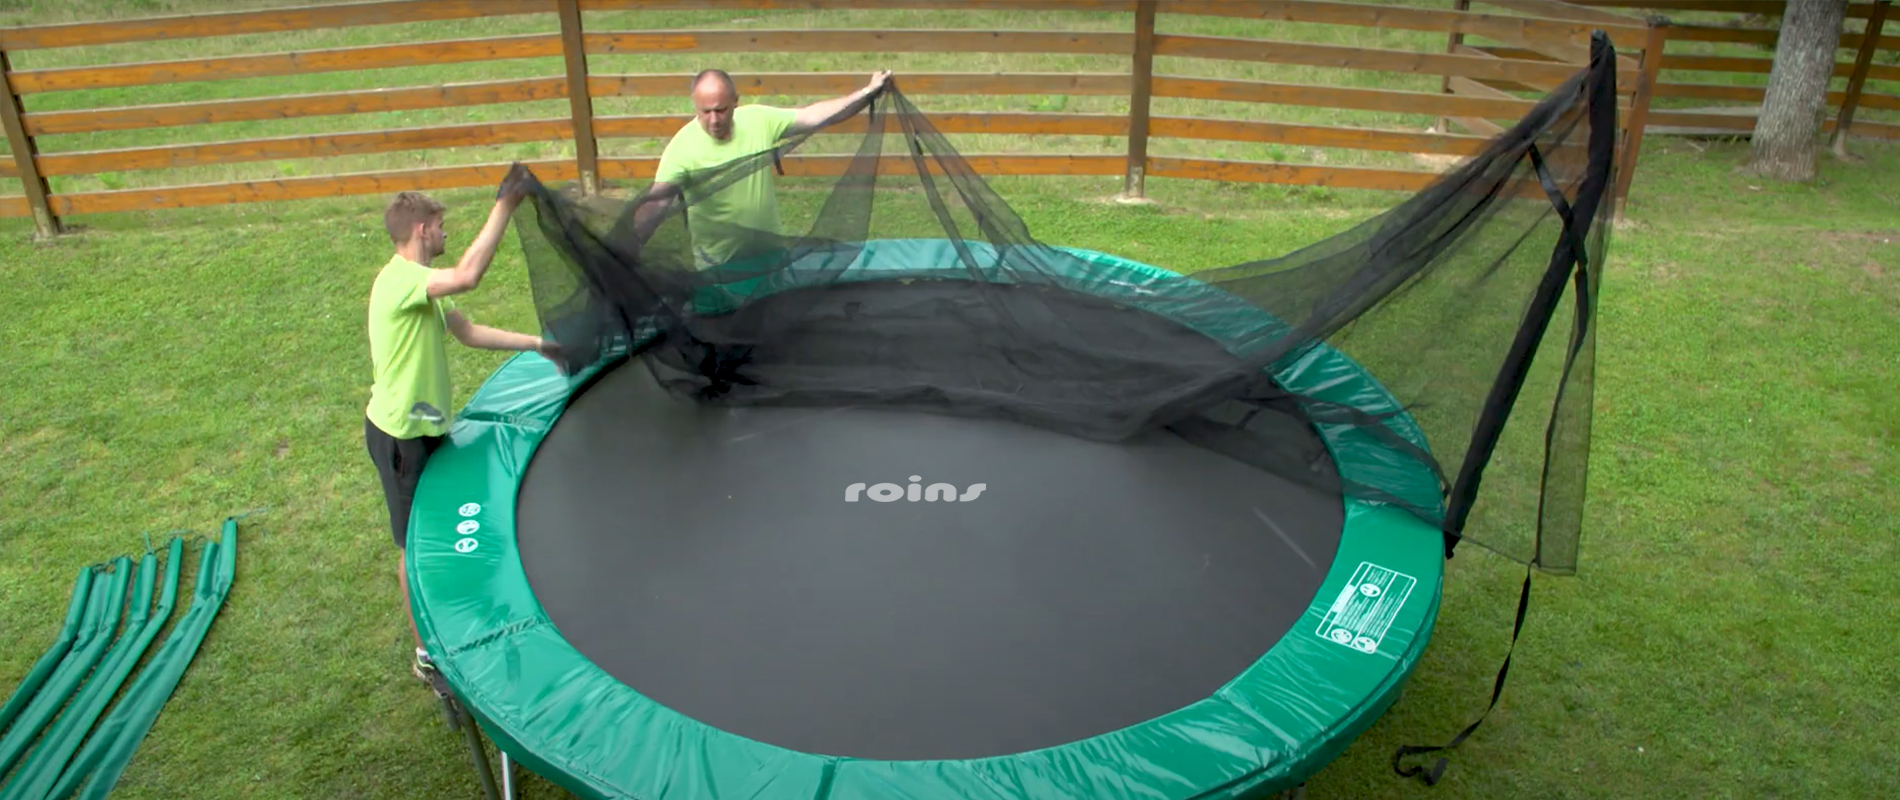
How to assemble trampoline enclosure
The jumping mat and steel framework are ready if you have followed the above procedures.
Install the bottom part of poles: Now comes the enclosure net part. It will be easier if you can find a partner to assist you. One person needs to hold the bottom part of poles, and another needs to use a tool to screw the bolts and fittings. How to identify the bottom part or upper part of poles? well, the bottom parts have two drilled holes, while the upper part only has a drilled hole to connect with the bottom part.
Establish the upper part of poles: Leave the bottom part set up without capping the upper part there. You need to do the job with the enclosure net. Put the foam-padded poles into every sleeve, then you can cap the drilled holes for both parts. After this, you need to slide down the sleeves to cover all the poles.
The enclosure net part is over if you have done the above things.
One more thing
For better advice, you can search for some videos for the assembly process. Words can not directly and clearly express some ideas, but you can know better by watching some videos.
Your voice matters
If you have better suggestions for the trampoline assembly, please share with us. We’d love to know more about it, just drop your comments so all of us can learn a bit.


